 by
A fjord trip can be much more than a sightseeing holiday. For photographers, fjord landscapes offer an extraordinary combination of deep water, towering mountains, waterfalls, forests, coastal villages, dramatic weather, and constantly changing light.
However, photographing fjords successfully requires more planning than simply arriving with a camera.
A beautiful location does not automatically guarantee beautiful photographs.
The weather may change quickly. Mountains can remain hidden behind clouds. A famous viewpoint may be crowded. A waterfall may look completely different depending on recent rainfall. The direction of the sun can determine whether a valley is glowing beautifully or hidden in deep shadow.
For this reason, a photography-focused fjord trip should be planned around light, weather, locations, transportation, timing, and flexibility.
Whether you are traveling with a professional camera, a mirrorless system, a DSLR, or simply a smartphone, thoughtful planning can help you return with images that tell a stronger story about the destination.
This guide explains how to design a fjord photography trip from the first stages of planning to the final day of shooting.
Start by Deciding What You Want to Photograph
The first mistake many photographers make is choosing a destination before deciding what type of images they want to create.
Fjord regions can offer many different subjects.
You may want to photograph:
- Wide mountain landscapes
- Deep blue fjord water
- Powerful waterfalls
- Small coastal villages
- Traditional houses
- Boats and ferries
- Wildlife
- Mist and dramatic weather
- Snow-covered peaks
- Autumn forests
- Reflections on calm water
- Night skies
- People enjoying outdoor activities
Your preferred photography style should influence your destination.
For example, if your main goal is photographing dramatic waterfalls, choose an area known for steep valleys and high rainfall. If you are interested in quiet coastal villages, select a route with smaller communities rather than focusing only on famous viewpoints.
A photographer interested in wildlife may need a completely different itinerary from someone interested in architecture or wide-angle landscapes.
Before booking anything, make a simple list:
What are the five types of photographs I most want to take?
This will help you choose the right fjord region and avoid building an itinerary around locations that do not match your creative goals.
Choose the Right Fjord Destination
Fjords exist in several parts of the world, and each region offers a different visual personality.
Norway
Norway is one of the most famous destinations for fjord photography.
The country offers dramatic combinations of steep mountains, narrow waterways, waterfalls, fishing villages, scenic roads, and viewpoints.
Norway is especially suitable for photographers who enjoy:
- Large-scale landscapes
- Mountain roads
- Waterfalls
- Traditional villages
- Ferry photography
- Long summer days
- Autumn colors
- Winter conditions
New Zealand
New Zealand’s Fiordland region offers a wilder and wetter atmosphere.
Locations such as Milford Sound are famous for dramatic cliffs, waterfalls, mist, rain, and dense vegetation.
This destination can be ideal for photographers who enjoy moody conditions.
Rain is not always bad news in Fiordland.
After heavy rainfall, temporary waterfalls can appear on mountain walls, creating an entirely different landscape from what visitors see on a dry day.
Iceland
Iceland offers a combination of fjords, volcanic landscapes, waterfalls, black beaches, glaciers, and dramatic coastlines.
It is an excellent choice for photographers who want variety within a relatively compact country.
Alaska and Canada
Northern fjord regions can provide dramatic wilderness photography, including glaciers, mountains, wildlife, and remote coastal scenery.
These destinations may require more logistical planning, but they can offer a strong sense of scale and isolation.
The most well-known location isn’t always the finest one.
Choose the place that best matches the story you want your photographs to tell.
Plan Your Trip Around Light, Not Just Locations
Photography depends heavily on light.
A location may look completely different at:
- Sunrise
- Midday
- Golden hour
- Sunset
- Blue hour
- During rain
- During fog
- Under dramatic clouds
One of the biggest advantages of a photography-focused trip is the freedom to plan your day around lighting conditions.
Rather than getting up, having breakfast, and starting your touring at a convenient time, inquire:
When will this location look its best?
A mountain facing east may receive beautiful early-morning light.
Another viewpoint may work better in the evening.
A waterfall surrounded by high cliffs may remain in shadow for much of the day, making bright sunlight unnecessary.
Researching light direction can help you avoid arriving at a famous viewpoint when the scene is difficult to photograph.
Do not try to photograph every location at the same time of day.
Match the location to the available light.
Give Yourself Extra Time for Bad Weather
Weather is one of the most important reasons to avoid an overly strict itinerary.
Fjord regions are often surrounded by mountains, and mountain weather can change quickly.
You may experience:
- Rain
- Fog
- Strong winds
- Low clouds
- Sudden sunshine
- Snow at higher elevations
- Rapid temperature changes
A traveler with only one afternoon at a location may leave disappointed if the view is hidden by clouds.
A photographer who has two or three days has more opportunities.
This is why flexibility is one of the greatest advantages you can build into your trip.
Instead of planning:
Monday: Photograph viewpoint A from 2:00 to 3:00 p.m.
Try planning:
Monday to Wednesday: Photograph viewpoint A during the best available conditions.
This approach reduces pressure and allows you to return when the weather improves.
Some of the best landscape photographs are created in unusual weather rather than under perfectly clear skies.
Fog can create mystery.
Rain can strengthen waterfall flows.
Storm clouds can add drama.
Low clouds can create a sense of scale.
Do not spend your entire trip waiting for blue skies.
Learn to photograph the conditions you actually receive.
Research Locations Before You Travel
A photography trip benefits from detailed location research.
Before arriving, create a list of potential shooting spots.
For each location, note:
- Best time of day
- Sunrise and sunset direction
- Driving or hiking time
- Parking availability
- Safety concerns
- Whether the location requires a boat
- Weather conditions that work well
- Backup locations nearby
You can organize this information in a notebook, spreadsheet, or phone application.
Try dividing locations into three categories.
Must-Photograph Locations
These are your highest priorities.
You are willing to return multiple times if necessary.
Secondary Locations
You would like to photograph them, but they are not essential.
Flexible Opportunities
These include unexpected scenes you may discover while driving, hiking, or exploring.
This final category is extremely important.
Do not become so focused on famous locations that you ignore interesting scenes directly in front of you.
Sometimes the most memorable photograph from a trip is taken at an unplanned stop.
Build an Itinerary with Fewer Destinations
Photography takes time.
This is why a photography-focused itinerary should usually be slower than a normal sightseeing itinerary.
A typical tourist may be satisfied with spending twenty minutes at a viewpoint.
A photographer may need:
- Time to walk around
- Time to test compositions
- Time to wait for changing light
- Time to return at a different hour
- Time to experiment with different lenses
Trying to visit too many locations can result in a collection of rushed photographs.
Instead of moving to a new town every night, consider staying in one area for several days.
For example, rather than planning:
Day 1: Location A
Day 2: Location B
Day 3: Location C
Day 4: Location D
You could create:
Days 1–3: Explore and photograph one fjord region
Days 4–6: Move to a second region
This approach gives you more creative freedom.
You can revisit the same location during different weather conditions.
Choose Accommodation Strategically
Accommodation is more than a place to sleep.
For photographers, location matters.
Staying close to your preferred photography area can make sunrise and sunset sessions much easier.
If you stay one or two hours away from a viewpoint, you may need to wake up extremely early or drive back on unfamiliar roads in darkness.
When choosing accommodation, consider:
- Distance from major photography locations
- Access to sunrise viewpoints
- Parking
- Kitchen facilities
- Drying space for wet clothing
- Reliable electricity for charging batteries
- Internet access for checking weather forecasts
A strategically located cabin, hotel, or guesthouse may be more useful than cheaper accommodation far away from your photography locations.
You are not only paying for a bed.
You are also paying for time.
Essential Camera Gear for Fjord Photography
The best camera is the one you know how to use.
You do not need the most expensive equipment to create strong images.
However, a few tools can be particularly useful.
A Wide-Angle Lens
Fjords often contain enormous landscapes.
A wide-angle lens can help capture:
- Mountain walls
- Waterfalls
- Large skies
- Foreground details
- The scale of the fjord
Be careful not to use an extremely wide lens for every image.
Sometimes a wide scene can make distant mountains look smaller.
A Telephoto Lens
A longer lens can be extremely useful for:
- Isolating mountain details
- Photographing waterfalls
- Capturing boats
- Compressing layers of mountains
- Photographing wildlife from a respectful distance
A Tripod
A tripod is helpful for:
- Long-exposure waterfalls
- Low-light photography
- Blue-hour images
- Night photography
- Focus stacking
Choose a tripod that is stable enough for windy conditions.
Extra Batteries
Cold weather and long shooting days can drain batteries quickly.
Always carry more than you think you need.
Memory Cards
Bring enough storage and avoid depending on one card.
Lens Cloths
Rain, sea spray, and mist can quickly cover your lens.
A clean lens cloth can become one of the most useful items in your bag.
Protect Your Equipment from Rain and Moisture
Fjord regions can be wet.
Even if rain is not falling, waterfalls and sea spray can create moisture.
Protect your equipment with:
- A rain cover
- Waterproof camera bag
- Dry bags
- Microfiber cloths
- Protective lens covers
Avoid changing lenses in heavy rain unless necessary.
If moisture enters your bag, give your equipment time to dry properly.
When moving from cold outdoor conditions into a warm building, condensation can also become a problem.
Allow your camera to adjust gradually when possible.
A few simple precautions can prevent a major equipment problem.
Use Weather Forecasts as Creative Tools
Do not check the weather only to decide whether to go outside.
Use forecasts to decide what and where to photograph.
For example:
Clear Weather
Good for:
- Distant mountain views
- Star photography
- Sunrise and sunset
- High viewpoints
Cloudy Weather
Good for:
- Waterfalls
- Forest photography
- Close-up details
- Even lighting
Rain
Good for:
- Stronger waterfalls
- Reflections
- Moody landscapes
- Mist
Fog
Good for:
- Minimalist compositions
- Mystery
- Layered mountains
- Atmospheric forests
A skilled landscape photographer learns to work with different conditions.
Do not fight the weather.
Use it.
Photograph the Fjord from Different Perspectives
One of the easiest mistakes is photographing every fjord from the same viewpoint.
Try changing your perspective.
From the Water
A boat or ferry can reveal mountain walls and waterfalls that are difficult to see from the road.
Use a fast shutter speed if the boat is moving.
Protect your camera from spray.
From Above
A hiking trail or viewpoint can show the shape of the fjord and the relationship between water and mountains.
Always follow marked trails and safety advice.
From the Shore
Low-level perspectives can create reflections and foreground interest.
From a Village
Including buildings, boats, roads, or people can add a sense of scale.
A photograph does not always need to show untouched wilderness.
Human elements can help tell the story of life in fjord regions.
Include Foreground Elements
A beautiful background alone may not create a strong photograph.
Try adding something in the foreground, such as:
- Rocks
- Flowers
- A wooden dock
- A boat
- A winding road
- Grass
- A person
Foreground elements can lead the viewer’s eye into the image.
They can also help create depth.
For example, instead of photographing only distant mountains, place a rock or small boat in the foreground.
This creates layers.
A useful composition often contains:
Foreground → Middle ground → Background
Not every image needs this structure, but thinking in layers can improve landscape photographs.
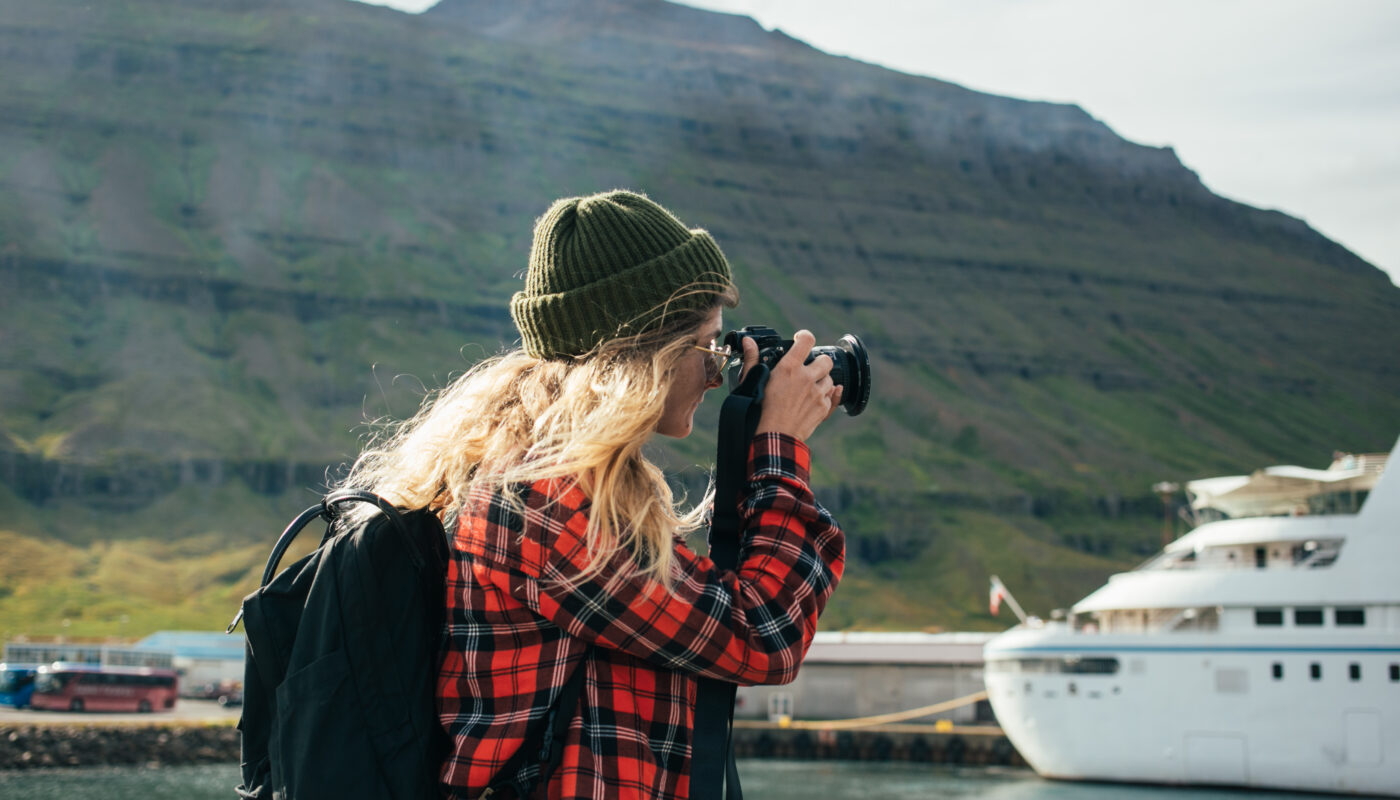
Photograph People to Tell a Story
A fjord trip is not only about mountains.
Including people can add emotion and scale.
You might photograph:
- A hiker standing on a trail
- A kayaker crossing calm water
- A person looking toward a waterfall
- A fisherman near a village
- Travelers boarding a ferry
A small human figure can show just how large the landscape really is.
Always respect privacy and local rules when photographing people.
If someone is clearly the main subject of your image, asking permission is often the best approach.
Wake Up Early and Stay Out Late
Photography often requires an unusual schedule.
The middle of the day may not always offer the most interesting light.
Early morning and late evening can provide softer light and fewer crowds.
Sunrise photography requires preparation.
Do not arrive at the viewpoint at the exact time of sunrise.
Arrive earlier.
This gives you time to:
- Find your composition
- Set up your tripod
- Check your settings
- Photograph changing colors before the sun appears
The same principle applies to sunset.
Some of the best colors may appear after the sun disappears below the horizon.
Do not pack your camera immediately.
Stay long enough to see what happens.
Keep Safety More Important Than the Photograph
Fjord landscapes can be dramatic because they are naturally steep and rugged.
Never take unnecessary risks for an image.
Avoid:
- Crossing safety barriers
- Standing near unstable cliff edges
- Walking onto unsafe rocks
- Ignoring weather warnings
- Hiking without proper preparation
- Getting too close to waterfalls
- Entering restricted areas
A photograph is never more valuable than your safety.
Social media can sometimes create pressure to capture unusual angles.
Remember that the most impressive image is not worth an accident.
Professional photography includes good judgment.
Create a Shot List, But Stay Open to Surprises
Before the trip, make a list of photographs you hope to capture.
For example:
- A wide sunrise fjord panorama
- A waterfall with a long exposure
- A mountain reflection
- A fishing village
- A ferry crossing the fjord
- A foggy mountain scene
- A person hiking for scale
- A close-up of natural details
A shot list can help you stay focused.
However, do not let it control the entire trip.
Some of your best images may be completely unexpected.
A sudden rainbow, unusual light, low fog, or unexpected wildlife encounter can create opportunities that no travel guide could predict.
Planning gives you direction.
Flexibility gives you creativity.
Final Thoughts
Planning a photography-focused fjord trip is about much more than choosing a beautiful destination and packing a camera.
The strongest photographs often come from preparation, patience, flexibility, and a willingness to return to the same location when conditions change.
Start by deciding what type of images you want to create. Choose a destination that matches your creative vision. Research locations, understand the light, and avoid building an itinerary that forces you to rush from one viewpoint to another.
Give yourself extra time for weather.
Stay close to important photography areas.
Carry equipment that matches your style, but remember that expensive gear alone will not create memorable images.
A smartphone in the hands of a patient and observant photographer can sometimes produce a more meaningful photograph than an expensive camera used without thought.
Most importantly, learn to appreciate the conditions you are given.
A rainy day may create stronger waterfalls. Fog can hide part of the landscape while making the visible mountains appear mysterious. A cloudy afternoon can provide soft light for forests and villages.
The perfect fjord photograph does not always happen under a perfect blue sky.
Sometimes it appears when you are willing to wait.
So, plan your route carefully—but do not plan every minute.
Leave space for changing weather, unexpected light, spontaneous stops, and quiet moments when the landscape reveals something you did not expect.
That balance between preparation and flexibility is what can turn an ordinary fjord holiday into a truly rewarding photography journey.